Concealed Hinges Reward Patience More Than Force
Installing concealed hinges is one of the most important steps in any hidden-door project because the hinge controls both movement and disguise. A door can be beautifully built and carefully painted, but poor hinge placement will show up as rubbing, sagging, uneven reveals, or a panel that never sits flat. The work is not mysterious, but it is exacting. You need the right hinge for the door weight, a layout that respects clearances, accurate recesses, strong fastening, and enough patience to adjust the door after it is hanging rather than expecting a perfect fit on the first try.
A: Choose by door weight, thickness, swing direction, and adjustment needs.
A: Sometimes, but routers or accurate jigs make clean recesses much easier.
A: Follow the hardware rating and include all finished door weight.
A: Common causes include sag, shallow mortises, uneven jambs, or tight clearances.
A: Test-fit them before final finish whenever possible.
A: They are usually better for cabinet-scale panels, not heavy passage doors.
A: Precise enough for the hinge to sit flat at the specified depth.
A: They can fine-tune, but they cannot fully solve weak or crooked framing.
A: Support the door physically while fastening and adjusting.
A: Upgrade when weight, frequency, or sag exceeds the hardware's comfort zone.
Match the Hinge to the Door Type
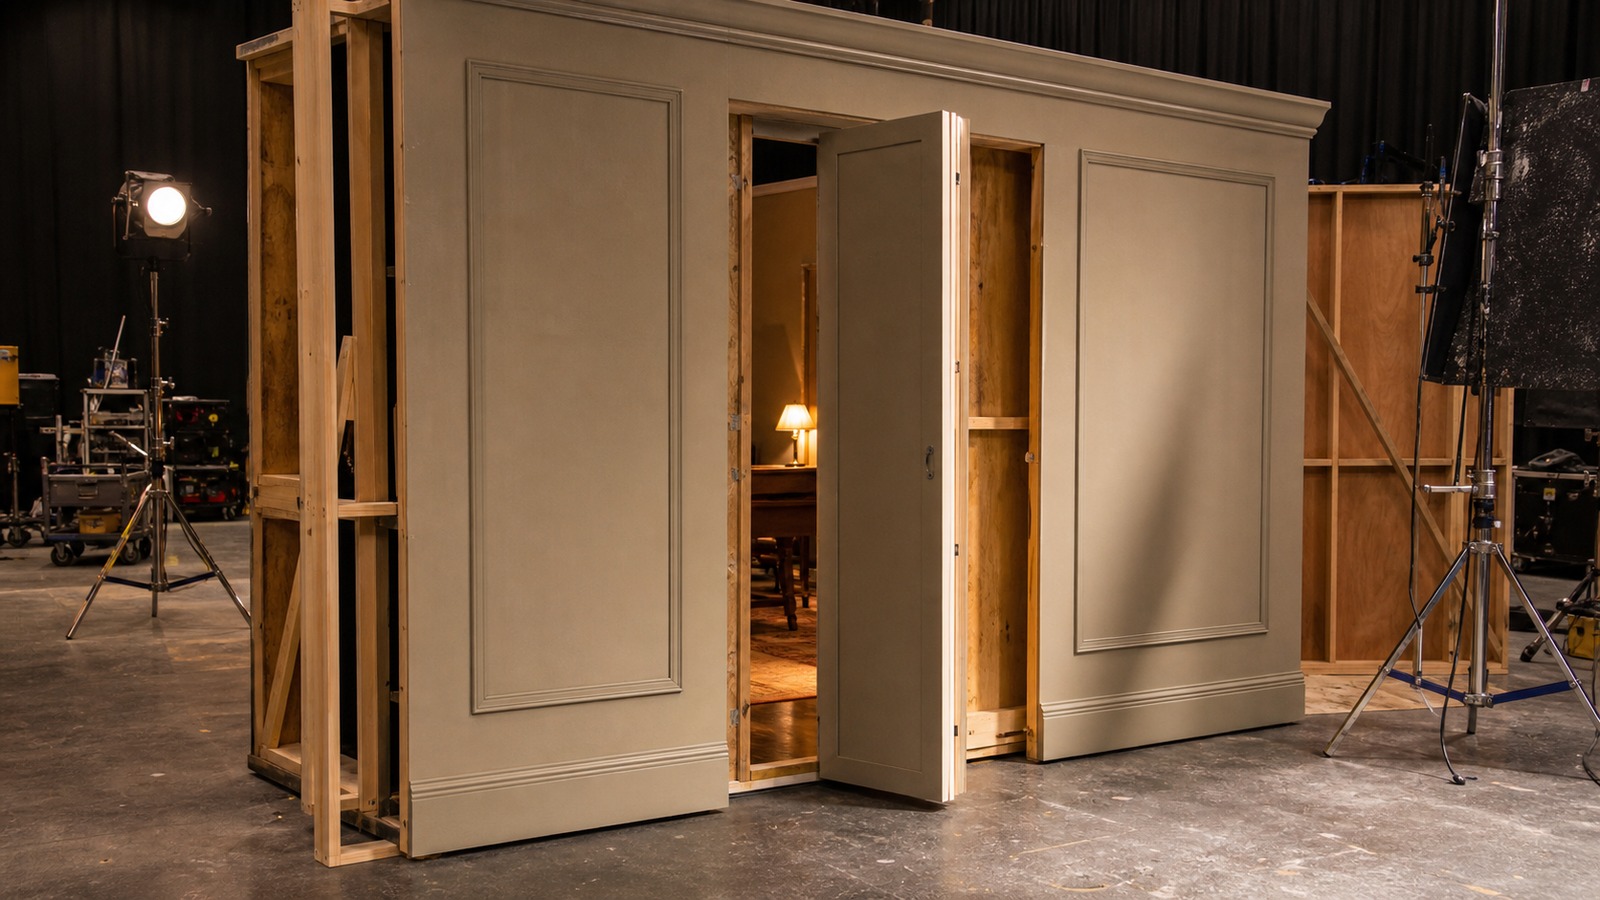
Concealed hinges are not all interchangeable. Cabinet-style cup hinges, SOSS-style invisible hinges, pivot hinges, and specialty hidden-door hardware solve different problems. A light access panel does not need the same hardware as a full-height bookcase or a heavy flush wall door.
Begin with the door’s size, thickness, weight, swing direction, and use frequency. Then choose hardware designed for that job instead of forcing a small hinge into a large-door role.
Read the Load Rating Conservatively
Load ratings are useful, but they are not permission to build at the edge of failure. A concealed door may gain weight from trim, mirrors, acoustic panels, shelves, or finish layers after the hinge is selected. Include those additions before deciding the hinge count.
Study the Manufacturer’s Geometry
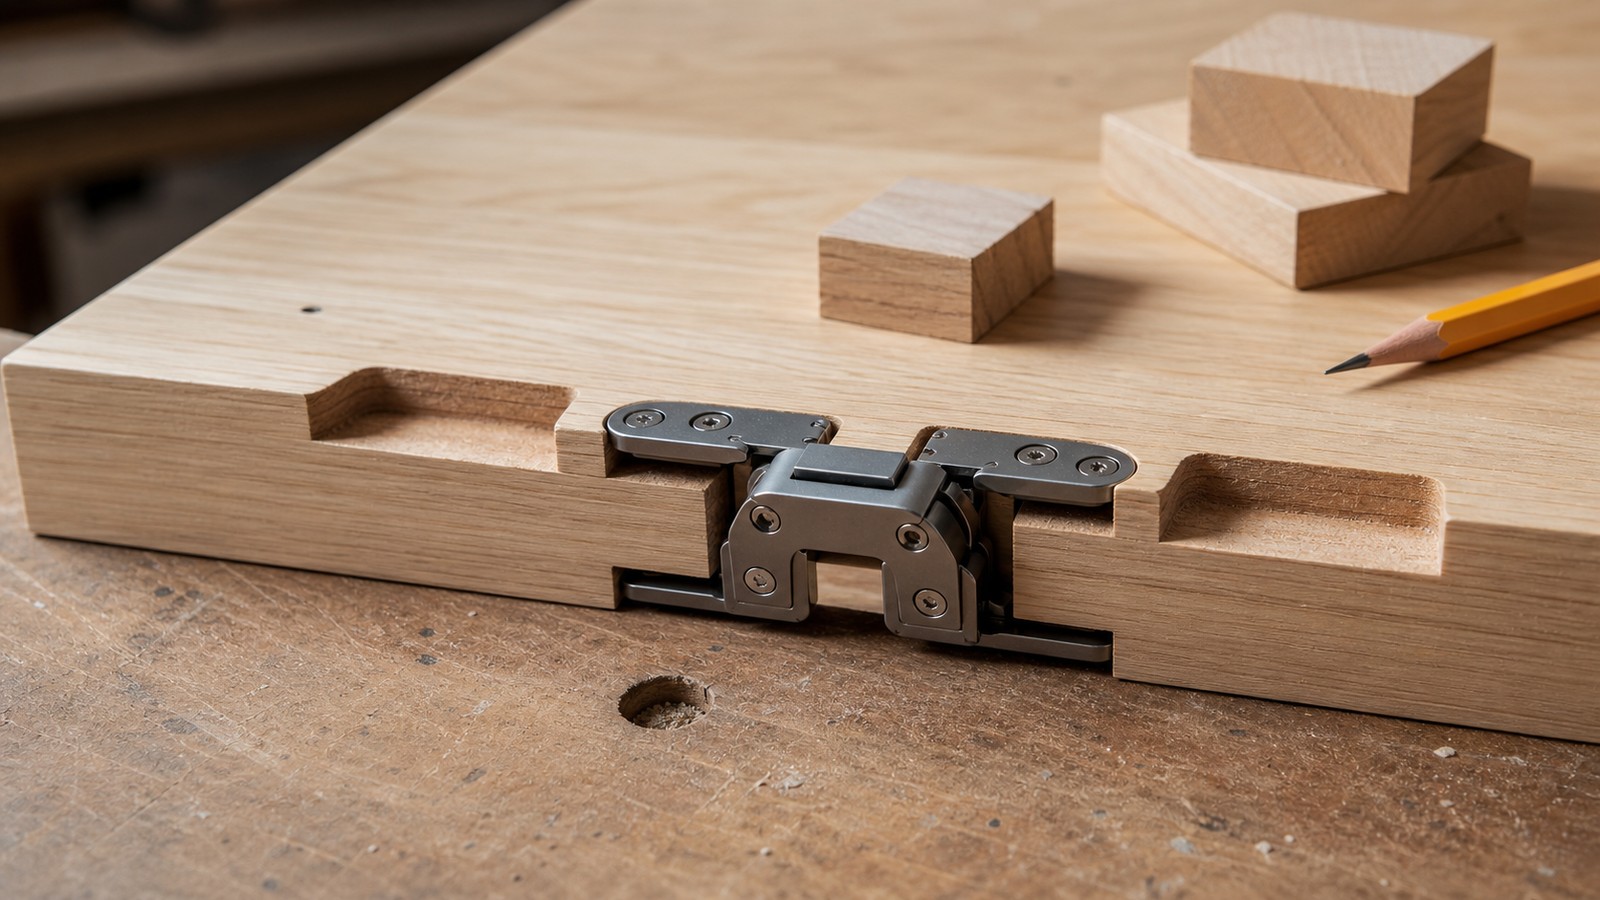
Every concealed hinge has geometry. It needs a specific mortise depth, cup location, screw pattern, clearance, opening angle, and relationship between the door and jamb. Ignoring those drawings is how good projects become frustrating.
Print or save the installation diagram, then mark the critical dimensions on the actual workpiece. Do not rely on memory while cutting. The numbers are small, and being off by a fraction can change the reveal.
If the instructions require a minimum door thickness, take that seriously. Thin panels may not leave enough material around the hinge pocket.
Confirm the Door and Jamb Are Straight
Concealed hinges cannot hide a crooked foundation. Check the door edge, jamb face, floor, and wall plane before mortising. A hinge installed perfectly into a twisted jamb will still swing poorly and reveal uneven gaps.
Correct the substrate first when possible. Shim, plane, reinforce, or rebuild the area that carries the hinge. Hardware adjustment should fine-tune the door, not compensate for a bad opening.
Mark All Hinges From One Reference Edge
Use one reference edge for all hinge measurements. If you measure one hinge from the top and another from the bottom, small errors can compound. A story stick or template helps transfer locations consistently between the door and jamb.
Label the door side, room side, top, and hinge side before cutting. Hidden-door panels can look symmetrical on the bench, and flipping one by mistake can ruin careful layout.
Dry-fit the hinge bodies against the marks before routing or drilling. This small pause catches orientation mistakes early.
Cut Mortises in Controlled Passes
Whether you use a router, chisel, drill press, or hinge jig, remove material gradually. Concealed hinges often need clean pockets with flat bottoms. A mortise that is too deep can pull the door out of plane, while a shallow mortise can hold the hinge proud.
Pre-Drill Screw Holes Accurately
Screws that wander can twist the hinge body as they tighten. Use a self-centering bit when possible, especially for hardware with countersunk holes. Pre-drilling also reduces splitting near door edges and keeps screws from pushing the hinge sideways.
Do not overdrive fasteners. Crushing wood fibers around the hinge can change alignment. Snug, controlled fastening is better than heroic torque.
Install Hardware Before Final Finish When Possible
Hinge pockets, screw holes, and adjustments are easier before the final coat of paint or stain. Test the fit, make corrections, then remove hardware for finishing if the hinge design allows it. Protecting the finish is easier than repairing chipped edges after a late adjustment.
Some concealed hinges have delicate moving parts or adjustment screws. Keep paint, filler, and sanding dust out of those mechanisms.
Photograph the hardware orientation before removal. Reinstallation is faster when you know exactly how each piece sat.
Hang the Door With Help
Many hidden doors are awkward rather than simply heavy. The panel may be wide, deep, or fragile at the edges. A helper, temporary support block, door jack, or stack of shims can keep the door at the correct height while screws are started.
Adjust Reveals in Small Steps
Concealed hinge systems often allow side, height, depth, or compression adjustment. Move one setting at a time and observe what changes. Randomly turning every screw can make the door worse and leave you unsure which adjustment caused the problem.
Use consistent reveal targets. A hidden door does not need impossible gaps, but it needs gaps that look intentional. Compare the hinge side, latch side, top, and bottom under the room’s normal lighting.
Check Swing Clearance Under Real Conditions
Open the door slowly through its full travel while watching trim, floor, ceiling, latch hardware, and nearby surfaces. Concealed hinges can move the door in a path that feels different from a standard butt hinge. The front corner may sweep wider than expected.
Test with rugs, baseboards, shelf weight, or panels installed. A clearance that works on an unfinished slab may disappear once the design is complete.
If the door serves an occupied room, confirm that the inside release still works after adjustments.
Lubrication Should Be Minimal and Compatible
Some hinges are maintenance-free, while others benefit from a small amount of suitable lubricant. Use only what the manufacturer recommends. Oil in the wrong place can attract dust, stain finish, or gum up adjustment parts.
Troubleshoot Sag Before Enlarging Gaps
If the latch side drops, do not immediately cut the opening wider. Check screw tightness, hinge rating, jamb strength, door weight, and whether the hinge pockets crushed or shifted. Enlarging the gap may hide rubbing temporarily while the real problem continues.
Sag usually has a cause. Find it, correct it, and then tune the reveal. Concealed hinges can produce beautiful results, but they ask for disciplined installation. Treat the hinge as a structural and visual part of the door, and the finished panel will open cleanly without advertising how it works.
Account for Paint and Finish Thickness
Concealed hinges are often installed before the final finish, but paint, primer, veneer, or laminate can subtly change clearances. A tight reveal that works on bare material may rub after two coats of paint. This is especially common near hinge pockets, latch edges, and flush panel faces.
Leave practical clearance for the finish system you plan to use. If the design demands very fine reveals, test the full finish build-up on scrap and measure it. Guessing can turn a beautiful installation into a sticky door.
Protect hinge mechanisms while finishing. Dried paint around adjustment screws can make later tuning difficult.
Use the Door’s Weight During Final Tuning
A hidden door should be adjusted at its real working weight. Add mirrors, trim, shelves, panels, or decorative surfaces before the final reveal tuning whenever possible. Otherwise the door may look perfect while light and sag once the design is complete.
Respect the Difference Between Cabinet Hinges and Passage Hinges
Cabinet hinges are excellent for small doors, but they are not automatically appropriate for full-height room access. Passage doors face different leverage, impact, frequency, and safety expectations. The fact that a hinge is concealed does not mean it is strong enough for every hidden-door idea.
When the door is tall or heavy, look at hardware made for architectural panels or concealed passage doors. The price may be higher, but replacing failed hinges after the finish is complete is usually more expensive in labor and frustration.
Check the Closed Plane From Multiple Angles
A concealed hinge must bring the door back to the correct closed plane. Stand near the wall, across the room, and at the normal entry point to see whether the door face sits proud, recessed, or twisted. A hidden door can look aligned from the hinge side and wrong from the approach angle.
Use small adjustments to bring the face into the same visual plane as the surrounding wall, cabinet, or panel system. This is where the concealed hinge becomes part of the disguise rather than only part of the swing.
Take breaks during this stage. After staring at a reveal too long, everything begins to look wrong. Fresh eyes often catch the real issue faster.
Keep Future Service Possible
Do not bury every adjustment screw behind permanent trim unless the hardware is truly maintenance-free and lightly loaded. Even then, think carefully. A concealed door is a moving assembly, and moving assemblies sometimes need service.
Discreet removable trim, accessible hinge covers, or a documented service path can preserve the clean look while protecting the homeowner from future demolition. The best concealed hinge installation is not only invisible on day one; it is still adjustable when the house changes.
Test the Door the Way People Will Actually Use It
After the hinge is installed, test the door with real behavior rather than delicate workshop movement. Open it with one hand, close it from both sides, use the latch, carry something through, and let a household member try it without coaching. This reveals issues that perfect installation motions can hide.
Pay attention to hesitation. If users naturally pull in the wrong place, push against the wrong edge, or avoid opening the door fully, the hinge may be fine but the overall access design needs work. Concealed hinges should support intuitive use, not require secret handling instructions.
That user testing also protects the hardware. Doors that people fight tend to get slammed, twisted, or pulled from awkward angles. A hinge that works smoothly during real use will last longer than one that only behaves when the builder operates it gently.
Final Hinge Work Is Mostly Listening
After the visible gaps look right, listen to the door. Scrapes, clicks, thumps, springy movement, and latch chatter all point to different issues. A silent or nearly silent concealed hinge installation feels more expensive because it suggests the door is moving without strain.
Use those sounds as diagnostic information rather than annoyance. A scrape may mean finish buildup, a click may mean a loose fastener, and a dull thud may mean the stop or bumper needs refinement. When the hinge sounds right, the hidden door usually feels right too. This listening stage is especially useful because concealed hinges are partly judged by what they do not reveal. Smooth, quiet movement lets the wall, cabinet, or panel keep its disguise even after someone has learned how the door opens. It also makes the installation feel more trustworthy to guests who never saw the careful mortising behind the surface. Quiet motion is often the detail that makes hidden hardware feel intentional. The hinge should disappear in both sight and behavior, while still carrying the load confidently through daily use for years ahead indoors.