3D Printing Is Best for Precision Helpers, Not Structural Shortcuts
Using 3D printing for concealed door parts can make a hidden-door project more precise, customized, and repairable, especially when you need spacers, trim caps, drill guides, latch covers, cable clips, prototype pulls, or small non-load-bearing components. The important boundary is strength. Most home 3D prints should not be trusted as primary hinges, structural supports, life-safety releases, or load-bearing hardware unless they are engineered, tested, and appropriate for the risk. In concealed-door work, 3D printing shines as a way to solve fit, alignment, and finish details around real hardware and proper structure.
A: Yes, especially for jigs, spacers, covers, clips, and prototypes.
A: No, use proven hardware for primary hinge loads.
A: PLA is common for drafts and light indoor jigs.
A: It can suit tougher utility parts in many indoor conditions.
A: Yes, with sanding, primer, and finish testing.
A: Do not rely on casual prints as the only emergency release.
A: They make future replacement or revision much easier.
A: Heat-set inserts or embedded hardware can improve durability.
A: Printed low-voltage wire clips can organize runs when placed safely.
A: Make precise helpers while real hardware handles structural work.
Start With Non-Load-Bearing Uses
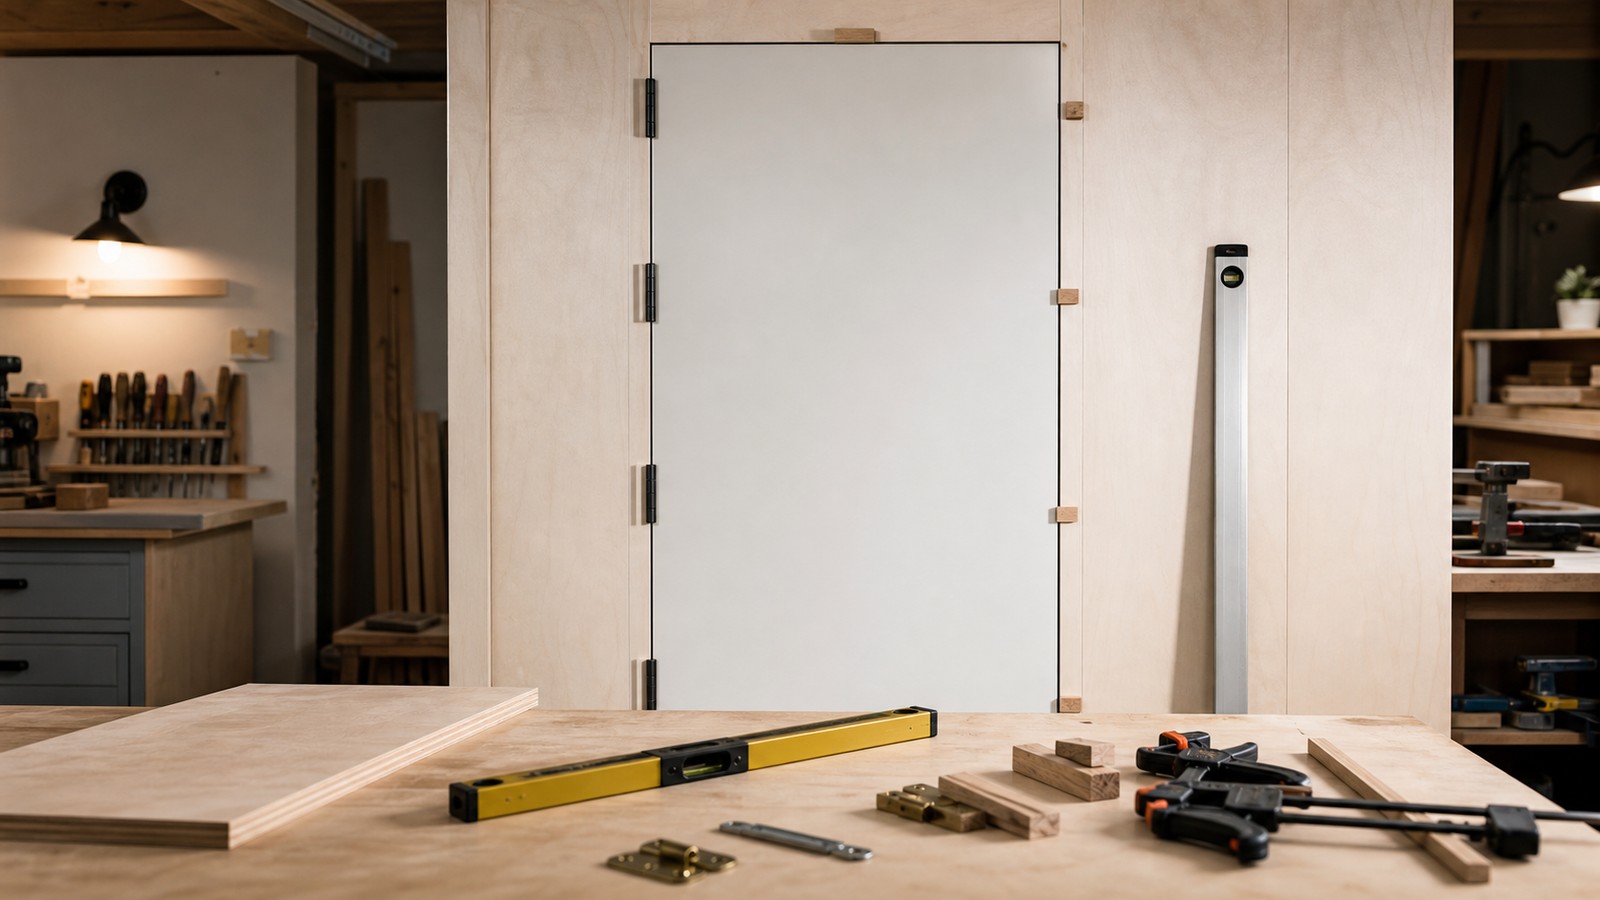
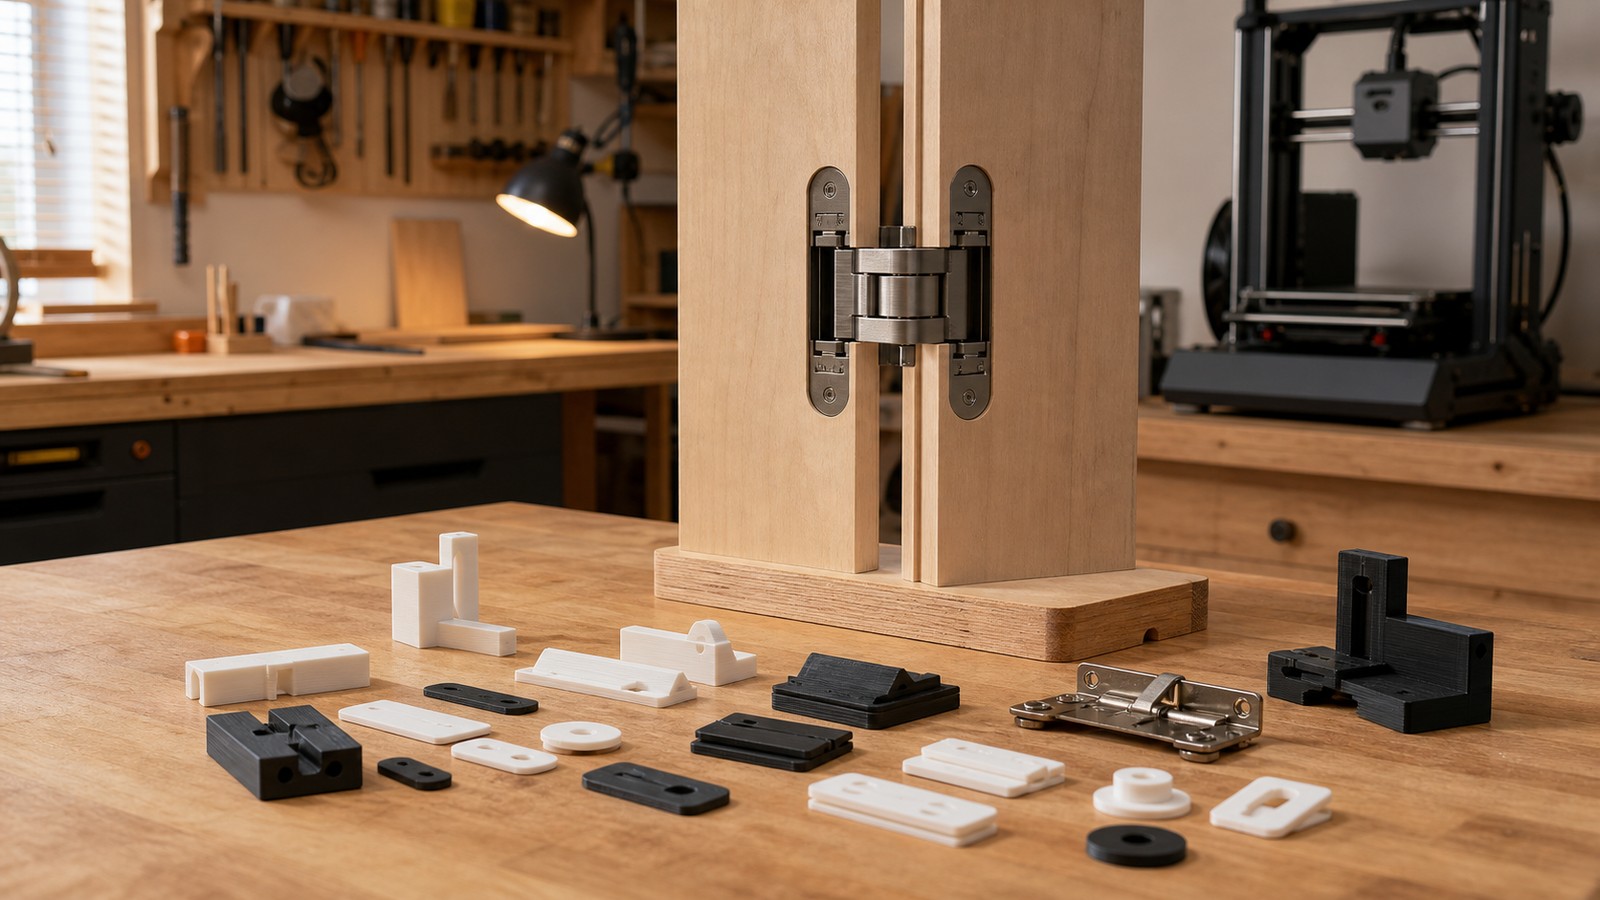
The safest 3D printed concealed-door parts are helpers, covers, guides, and cosmetic details. Spacer blocks, reveal gauges, router templates, screw-hole guides, wire clips, bumper holders, and latch bezels can all be useful without carrying the door’s main load.
This keeps printed parts in a sensible role. They improve accuracy and finish while metal hardware, wood framing, or engineered components handle structure.
Prototype Before Committing to Hardware Placement
3D printing is excellent for prototypes. You can print a sample pull, latch cover, hinge spacer, or trim transition and test it against the door before cutting final material. Seeing the part at full size often reveals problems that a screen model hides.
Prototypes can be rough. Their job is to answer questions about reach, clearance, appearance, and installation sequence. A quick draft print may save a finished panel from an unnecessary hole.
Keep prototype colors neutral when judging form. Bright filament can make a part look more noticeable than it will be when painted.
Use Printed Spacers for Repeatable Reveals
Concealed doors need consistent gaps. Printed spacers can be made to exact thicknesses and shapes for hinge-side reveals, latch gaps, shelf offsets, or panel alignment. Unlike random scraps, they can be labeled in your project notes and reprinted later.
Print Jigs That Make Hand Work More Accurate
Drill guides, router guides, hinge-location templates, and marking blocks are some of the most useful printed parts. They do not remain in the final door, but they make the final door better. A good jig keeps repeated operations consistent.
Jigs should be designed with clamping, bit clearance, and wear in mind. A guide that shifts during use can create worse errors than freehand layout. Test on scrap before using it on the door.
Choose Materials by Environment
Filament choice matters. PLA is easy to print but can soften in heat. PETG is tougher and more temperature resistant for many home uses. ABS, ASA, nylon, and other materials have their own strengths, print challenges, and ventilation needs. Match the material to the part’s location and stress.
A small trim cap inside a closet has different requirements from a guide near a warm light channel or a part in a garage. Environment should guide the material choice.
Printing stronger material does not automatically make a part structural. Design, layer orientation, infill, fasteners, and testing still matter.
Respect Layer Direction
3D printed parts are often weaker between layers than along them. If a part will be pulled, flexed, or screwed down, orient the print so forces do not split the layers easily. This is especially important for clips, brackets, and latch covers.
Use Heat-Set Inserts Where Screws Matter
Repeatedly driving screws into plastic can strip holes. Heat-set inserts or embedded hardware can make removable covers, service panels, or adjustable guides more durable. They are especially useful when the part may need to come off during future maintenance.
Plan insert locations with enough surrounding material. A brass insert too close to an edge can split the print or distort the part.
Printed Trim Can Solve Odd Gaps
Older houses and custom hidden doors often create small gaps that standard trim does not solve neatly. A printed cap, curved filler, tapered shim, or small reveal cover can bridge a problem area without remaking the whole assembly. These parts can be painted to match surrounding trim.
Use printed trim sparingly. Too many custom plastic details can make the project feel patched. The best printed trim disappears into the larger finish plan.
Sand, prime, and paint visible prints carefully if layer lines would catch light.
Do Not Print Critical Life-Safety Releases Casually
If a concealed door requires an emergency release, do not rely on an untested printed part as the only way out. Life-safety hardware needs reliability beyond a clever model. Printed pieces may be useful as covers or bezels around real hardware, but the core function should be dependable.
Design for Service and Reprinting
A printed part can be a long-term advantage if you save the model, version, material, print settings, and installation notes. If the part breaks or a finish changes, you can reprint or revise it. Without those records, the benefit fades.
Store files with meaningful names and keep a small note about where each part is used. Hidden doors are already hard enough to service without mystery parts.
Use Printed Cable Clips for Lighting Carefully
Concealed doors with LED lighting or sensors often need wire routing. Printed clips can guide low-voltage wires neatly, but they should not pinch insulation, sit near heat without suitable material, or cross moving hinge paths. Electrical safety still matters.
Use proper electrical components for connections and follow code. Printed clips are organization tools, not electrical boxes.
Check clips after the door cycles. A wire that looks safe when stationary may rub when the panel moves.
Finish Prints Like Real Parts
Layer lines, glossy filament, and mismatched color can reveal a printed component. Sanding, filler primer, paint, or choosing a hidden location can help. A printed part should not look like a quick plastic patch unless it is hidden inside the mechanism.
Test Failure Before Trusting a Part
If a printed part holds anything, pull on it, flex it, cycle it, and test it under conditions harsher than normal use. Watch for cracking, creep, screw loosening, or deformation. It is better for a printed clip to fail on the bench than inside a finished hidden door.
For any part that could injure someone if it failed, choose commercial hardware or professional fabrication instead.
Printing Works Best Beside Traditional Craft
3D printing is powerful when it supports carpentry, metal hardware, finish work, and careful installation. It lets you make odd spacers, repeatable guides, custom covers, and prototypes that would be tedious by hand. It should not tempt you to replace proven structural parts with convenient plastic.
Use the printer where precision and customization matter, then let strong materials do strong-material jobs. That balance makes concealed doors more inventive without making them fragile.
That balance is the real opportunity. A printer can help a hidden door fit the exact quirks of a house while traditional materials keep the door trustworthy. Precision helpers and solid craft make a better team than either one alone.
Design Printed Parts Around the Fastener
Many useful printed parts fail because the screw, bolt, or insert was treated as an afterthought. Design enough plastic around fastener holes, include washers where needed, and avoid thin tabs that split under tightening. The printed shape should support the hardware, not merely surround it.
Use Color as a Workshop Signal
Bright filament can be useful for jigs, spacers, and temporary setup parts because it is easy to find on the bench. Final visible parts usually need a quieter color or paint. Separating shop-use parts from finished parts helps avoid accidentally installing a draft piece.
You can also print prototypes in one color and final service pieces in another so records are easier to understand later. The color should serve the process, not the hidden door’s finished look.
Watch Creep Under Constant Pressure
Some plastics deform slowly under continuous load. A printed spacer, clip, or latch cover may look fine on day one and change shape after months of pressure, heat, or vibration. Avoid using printed parts where long-term compression would affect alignment.
If the part must hold position, test it longer than a quick bench pull. Hidden doors move repeatedly, and small deformation can become a visible reveal problem.
Commercial hardware is usually the better choice for constant load.
Make Replacement Easy
A printed part is easier to trust when it can be replaced without damage. Use screws, inserts, magnets, or accessible clips instead of permanent glue when service may be needed. A part that can be reprinted and swapped becomes a practical maintenance asset.
This is especially useful for covers and bezels near latches or lighting. Those areas may change as the concealed door is adjusted over time.
Use the Printer to Learn Before Cutting Wood
Printed mockups can answer design questions cheaply. Try three pull shapes, two latch-cover depths, or a few reveal spacer sizes before routing the finished panel. The printer turns uncertainty into physical tests.
Pair Printed Parts With Standard Hardware
A practical strategy is to print the parts around the hardware, not the hardware itself. Print a cover around a metal latch, a guide around a drill bushing, or a spacer around a commercial hinge. The printed part customizes the fit while the standard part carries the demanding work.
This approach also simplifies replacement. If the latch or hinge wears out, a common hardware part is easier to source than a custom load-bearing print.
Design Parts So They Cannot Be Installed Backward
Small printed parts can look symmetrical until installation. Add shape cues, asymmetric tabs, or clear geometry that makes the correct orientation obvious without printed labels. A hidden-door service part should not require guesswork when someone is working inside a tight opening.
This is especially useful for jigs and spacers. If a guide can be flipped the wrong way, it can place hardware incorrectly. Shape can prevent the error before it happens.
Do the thinking in the model so the installer does not have to remember every detail later.
Use Printing to Preserve Discontinued Details
Older concealed doors may have odd caps, pulls, clips, or trim profiles that are hard to replace. A careful 3D model can recreate a nonstructural detail and keep the door looking consistent. This can be useful when the original part was decorative or served as a cover.
For anything load-bearing, replacement should still be engineered properly. But for small visible details, printing can extend the life of a custom hidden-door design. It can also make repairs less invasive because a missing cover or spacer can be recreated without altering the surrounding millwork.
That is where the printer feels most at home: keeping the strange little parts of a concealed door serviceable, documented, and replaceable.
That serviceability matters because hidden doors often depend on small details that no catalog stocks. A printed replacement can keep a latch cover, guide, or trim cap from becoming the one visible flaw in an otherwise careful project years later, especially after normal wear around the moving parts. Small replacement parts can preserve the whole illusion over time at home.