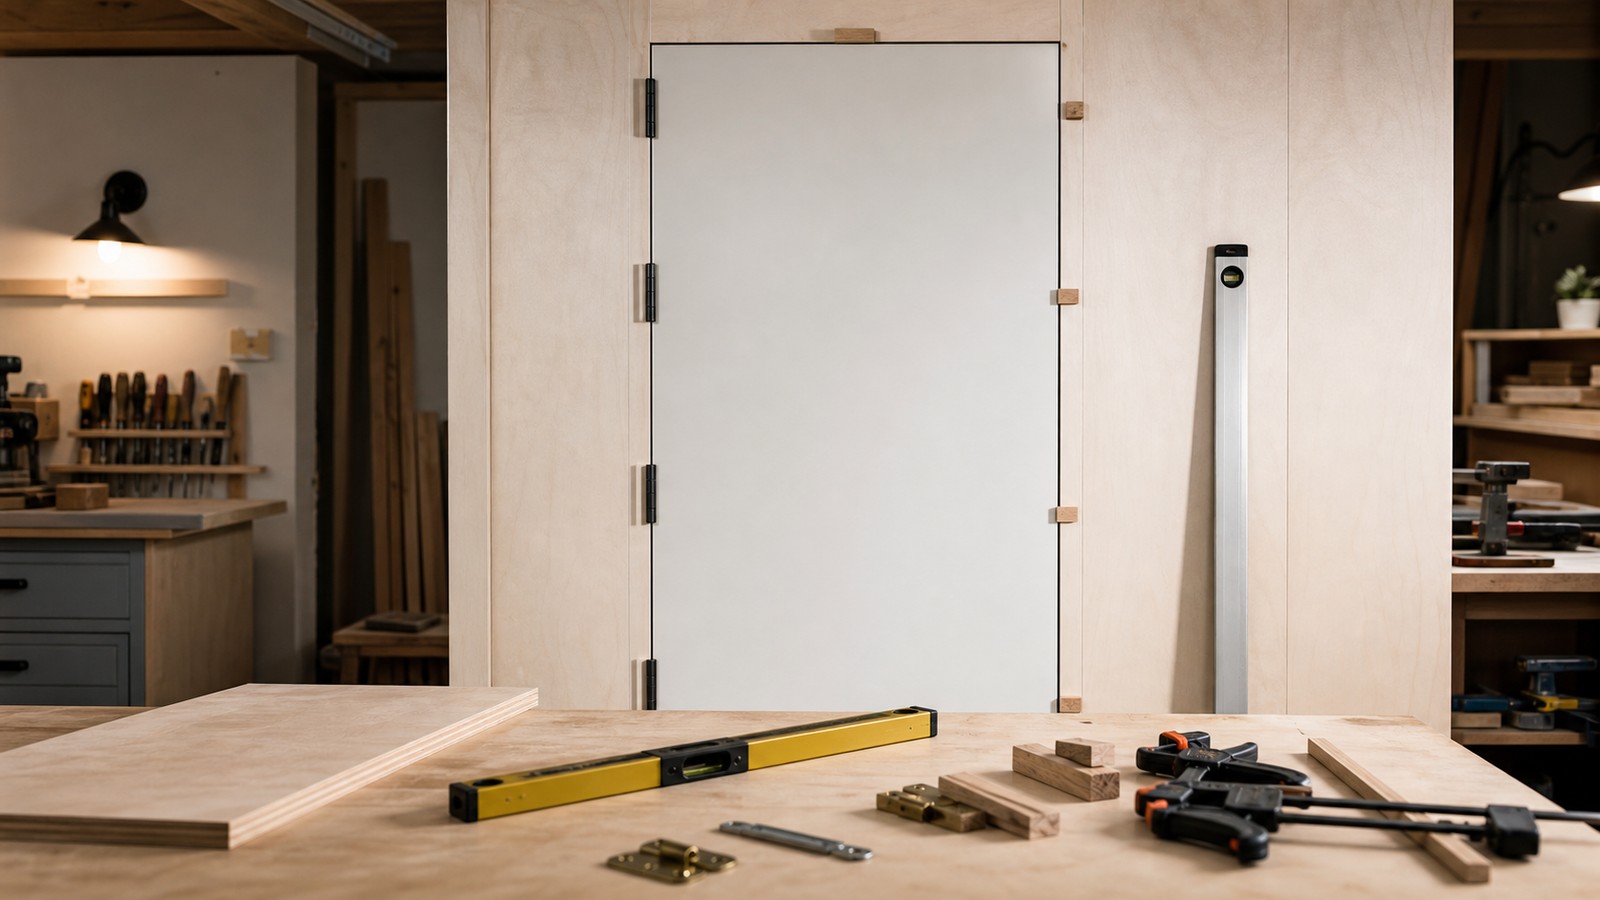
Most Hidden Door Problems Start Before the Door Moves
Common mistakes when building concealed doors usually happen in planning, not in the final reveal. A hidden door asks a wall, a hinge, a latch, and a finish to cooperate more precisely than an ordinary doorway. If the door is too heavy, the frame too weak, the seam too obvious, the release too confusing, or the finish too delicate, the project may look exciting for a day and frustrating for years. The best way to avoid failure is to treat concealment as a disciplined door project first and a secret second.
A: Underestimating finished weight and fastening hardware into weak backing are common causes.
A: Yes, a seam that belongs to a natural pattern can look more believable.
A: Anyone inside must be able to leave easily and safely.
A: Full-scale mockups catch clearance and reveal problems before final materials are cut.
A: It can be challenging because shelves add weight, leverage, and styling issues.
A: Yes, hidden doors need tuning after installation and seasonal movement.
A: Only if the structure, latch, and access plan are designed for security.
A: Mismatched sheen and rough edges often reveal the hidden panel.
A: Test before finish, after finish, after early use, and after seasonal changes.
A: Clear goals, realistic weight planning, strong backing, mockups, and patient testing.
Starting With the Trick Instead of the Door
Many concealed door projects begin with a dramatic reveal idea: a bookcase swings open, a wall panel slides away, or a mirror becomes a passage. The trouble begins when that trick is chosen before the opening, weight, clearance, and daily use are understood. A hidden door still has to behave like a door.
Start with the basics. Who will use it, how often, from which side, and what needs to happen in an emergency? Those answers shape the mechanism much better than a favorite inspiration photo.
Underestimating Weight
Weight is the quiet force behind many failures. Trim, shelving, mirrors, stone veneer, panels, and decorative objects can turn a simple slab into a heavy moving assembly. Hinges and pivots that worked during a quick test may sag once the finish is complete.
Always include the finished face, hardware, and any stored objects when estimating load. A bookshelf door is not just a door with shelves; it is a lever that magnifies weight across the opening. The structure behind the disguise must be planned for that reality.
When the weight is uncertain, build a lighter disguise or bring in professional advice. Guessing is rarely cheaper than repairing a sagging hidden door.
Fastening Hardware Into Decorative Material
Another common mistake is attaching important hardware to thin panels, weak trim, particleboard edges, or casing that is not tied into framing. Concealed hardware can be invisible and still need serious support. The load path should reach structure.
Making Seams Too Perfect to Be Believable
A hidden seam does not always need to vanish completely. In many rooms, a seam that belongs to a larger trim rhythm is more believable than a suspiciously flawless rectangle. Perfectly crisp lines can draw attention when the surrounding wall is ordinary or slightly imperfect.
Use panel joints, shelving uprights, battens, cabinet divisions, or shadow lines to explain the reveal. The eye is less interested in a seam when the room already contains similar lines.
Forgetting the Hidden Side
The public side often gets all the design attention, while the hidden side is left awkward. A concealed room still needs a safe exit, understandable latch, comfortable lighting, and enough clearance to move. If the inside face feels unfinished or confusing, the door is not really complete.
This matters for storage spaces too. Someone may step inside to retrieve a box, close the door accidentally, or need both hands full. The inside operation should be obvious enough that secrecy never becomes a hazard.
A hidden door is successful when both sides work, even if only one side performs the reveal.
Skipping a Full-Scale Mockup
Small drawings can hide big movement problems. A full-size mockup with cardboard, scrap panels, painter’s tape, or temporary trim can reveal swing conflicts, awkward handle placement, and suspicious seam locations before materials are cut.
Choosing the Wrong Latch for Daily Use
A touch latch may feel clever until the household uses the door every morning. A hidden pull may look clean but frustrate guests. A keyed lock may improve privacy but create a lockout risk. The latch should match how often the door opens and who needs to operate it.
Test latches with the finished weight if possible. A release that works on an empty panel may feel weak or inconsistent once paint, trim, and shelves are added. Concealed doors punish optimistic assumptions.
Ignoring Floor and Ceiling Clearance
Hidden doors need clearance at the floor, ceiling, side reveals, and swing path. Rugs, thresholds, uneven floors, crown molding, baseboards, and nearby furniture can all interfere. A door that rubs slightly will quickly damage its own disguise.
Older homes and basements deserve extra attention because floors may slope. Check clearance through the full swing, not just when the door is closed.
Leave enough room for seasonal movement. Materials swell, finishes build thickness, and floors shift. Tight clearances may look beautiful until they stop the door from moving.
Overdecorating the Moving Face
The moving face should not carry more visual burden than the hardware can handle. Crowded shelves, heavy art, thick trim, and fragile decor make the door harder to use and maintain. If everything has to be perfectly reset after opening, the door will stop being used.
Rushing the Finish
Concealed doors rely on surface continuity. Uneven paint sheen, poorly filled nail holes, rough cut edges, blotchy stain, or mismatched trim profiles can expose the project faster than the seam. Finish work deserves time.
Prime both sides of panels when appropriate, sand edges, test stain on scraps, and keep touch-up material. The finish should survive fingers, cleaning, and adjustment without becoming a map of the mechanism.
Hiding Adjustment Points Forever
Hinges loosen, pivots settle, catches shift, and shelves get reloaded. If every adjustment point is buried behind permanent trim, maintenance becomes destructive. Service access can be discreet, but it should exist.
Removable cover strips, accessible screws, magnet-held panels, or hidden-side access pockets can make the difference between a durable door and a one-time stunt. Concealment should protect future repairs, not prevent them.
Think like the person who has to fix the door two years later. That perspective often improves the first build.
Assuming Concealment Means Security
A hidden door is not automatically secure. A light panel with a magnetic catch may provide visual privacy but little resistance. If security matters, the frame, latch path, door core, and access routine need separate planning.
Letting the Room Point at the Secret
Sometimes the door is well hidden, but the room arrangement gives it away. A single blank wall, oddly centered bookshelf, unusual lighting, or furniture layout that avoids one section can make visitors look twice. The hidden door should sit inside a room that feels naturally arranged.
Carry the design language beyond the opening. If the disguised section is the only wall with special trim, the special trim becomes a clue. The best concealment feels less concentrated.
Neglecting Repeated Testing
Test the door before final finish, after final finish, after the first week, and after a season. Listen for rubbing, watch reveals, check latch feel, and notice whether people use the release correctly. Concealed doors often reveal their problems slowly.
Testing should be calm and practical. Open the door with one hand, from both sides, under ordinary lighting. Use it while carrying something. Invite a trusted person to try it without instructions if that fits the use case.
Every test is a chance to make the door easier to live with.
Using Too Many Ideas at Once
A door that is hidden behind shelves, trim, wallpaper, lighting, a secret latch, and a heavy decorative object may feel overworked. One clear concealment strategy is often more convincing than five competing tricks. Restraint makes the closed wall calmer.
Forgetting That Good Hidden Doors Are Ordinary Most of the Time
The reveal is memorable, but the door spends most of its life closed. It should look natural, stay aligned, clean easily, and open without ceremony for the people who use it. A concealed door that is only impressive during a demonstration has missed the deeper goal.
Avoiding mistakes does not make the project dull. It makes the magic last. When weight, structure, seams, safety, finish, and maintenance are planned honestly, the hidden door can surprise people without annoying the household. That is the best kind of secret: one that works quietly after the excitement fades.
Build a Punch List Before the Final Reveal
Before showing the finished door to anyone, make a punch list the same way a careful contractor would. Check reveal width, hinge movement, latch feel, trim gaps, paint touch-ups, shelf stability, inside release, lighting, and whether the door can be cleaned without snagging the finish. The reveal will be more satisfying when small problems have already been removed.
Do not treat the punch list as a mood killer. Concealed doors are unusually dependent on little details. A rough nail hole, proud molding strip, or sticky latch can become the thing everyone remembers instead of the secret.
Walk away and come back with fresh eyes. Many mistakes are easier to see after a short break, especially finish flaws and visual patterns that point toward the opening.
Keep Future Repairs in the Original Design
A hidden door that cannot be repaired is not truly finished. Keep notes on hardware, paint colors, fastener locations, and adjustment points. Store spare trim or panel material when the disguise depends on a specific profile. Future repairs become much easier when the original builder leaves a map for the next round of tuning.
Slow Work Usually Looks More Secret
The most common mistakes share one cause: rushing from idea to reveal. Concealed doors reward patience because they ask several trades to overlap. Framing, door hanging, cabinetry, finish carpentry, hardware, paint, and user safety all meet in one opening.
Working slowly gives each decision a chance to be checked against the whole door. If the weight changes, the hardware can be reconsidered. If the seam looks too obvious, the trim pattern can be adjusted. If the latch feels awkward, the release can move before final paint. That patience is what keeps a hidden door from becoming a collection of avoidable compromises.
Invite One Honest Reviewer
A fresh set of eyes can catch what the builder has stopped seeing. Ask one trusted person to look at the wall without being told where the door is, then watch what draws their attention. If they notice a shadow, odd trim break, unusual shelf spacing, or awkward handle location, the design is giving away clues.
This review is most useful before final finish. At that stage, a seam can still move, a trim run can extend, or a release can become more natural. After painting, every change is harder.
Do not turn the review into a performance. The point is not to impress someone with the reveal; it is to discover whether the closed wall feels ordinary.
Protect the Ordinary Function
A concealed door is still a passage, closet, pantry, or service access point. If the hidden feature makes that ordinary function worse, the project has wandered. The door should close reliably, hold up to normal cleaning, and remain understandable to the people who need it. The secret is a layer added to usefulness, not a replacement for it. That simple standard catches many mistakes before they become permanent.
Use Mistakes as Design Signals
If a hidden door starts feeling fussy during the build, do not ignore the warning. A latch that needs force, a panel that feels too heavy, or a seam that requires perfect lighting may be telling you the design is overextended. Treat those moments as useful information.
The smartest correction is often simplification. Remove weight, widen a reveal, improve support, or choose a clearer release. A concealed door that becomes easier to build usually becomes easier to live with as well.