Surface Finish Is Often the Real Disguise
Concealed door painting and wallpaper tricks work because many hidden doors are discovered by finish differences before they are discovered by hardware. A door can be flush, well hinged, and carefully framed, yet still show itself through a shinier sheen, broken wallpaper pattern, dirty pull edge, or shadow line that catches light. Paint and wallpaper do not replace good construction, but they can make the construction visually quiet. The goal is to make the door, wall, trim, and pattern read as one intentional surface until someone chooses to open it.
A: Often, if sheen, trim, hardware, and lighting are handled carefully.
A: Different sheen catches light and can reveal a hidden panel.
A: It can visually continue, but the operating seam must be cut cleanly.
A: Choose a durable material that handles moving edges and touch points.
A: Only if paint will not interfere with movement or adjustment.
A: Use clean cuts, suitable adhesive, and protected edges.
A: Subtle texture can soften lines when it belongs to the room.
A: Pull edges, press points, and bottom corners usually show first.
A: After paint or adhesive has cured enough for normal operation.
A: A finish that matches the room and survives repeated use.
Start With the Light in the Room
Paint and wallpaper behave differently under daylight, sconces, recessed lights, and side light. Before choosing a finish, look at the door from normal approach angles during different times of day. The light may reveal sheen differences or seams you did not notice during installation.
Lighting should guide the finish strategy. A high-gloss surface may look dramatic in a sample and obvious on a hidden door. Matte finishes can hide more, but they may be less washable in touch zones.
Match Sheen as Carefully as Color
Color matching is only half the job. Sheen changes how light reflects, and doors often get smoother, harder finishes than surrounding walls. If the hidden door is meant to read as wall, the sheen should be tested beside the real wall finish.
Paint a sample board and move it around the door area. A match that works straight on may flash from the side. Concealed doors are judged from movement, not from one fixed view.
Do not forget primer. Different primers under the same paint can change the final read.
Use Paint to Reduce Door Signals
Painting casing, hinges, edge pulls, and adjacent trim can reduce the familiar contrast that says door. In some rooms, this simple move is more convincing than adding elaborate disguises. The surface becomes quieter because fewer pieces compete for attention.
Keep Operating Seams Free
Never bridge a moving seam with caulk, thick paint, or wallpaper paste. It may look clean while wet, but the first opening will crack, tear, or stick. Moving joints need crisp cuts and controlled clearance.
Score paint at edges before it builds up. A concealed door that sticks because the finish sealed the gap can damage itself the first time someone forces it open.
Align Wallpaper From the Viewing Side
Wallpapered hidden doors depend on pattern alignment. Start from the sightline that matters most, not necessarily from the easiest edge. If guests approach from the hallway, that is where the pattern should look most continuous.
Dry-fit the paper before paste or adhesive. Mark where the door seam falls, how the pattern crosses the latch side, and whether the hinge side needs a special cut. Pattern drift can expose the door faster than a small reveal.
Large-scale patterns require extra planning because the missing or repeated motif can look suspicious.
Choose Durable Wallcoverings for Moving Edges
Grasscloth, paper, vinyl, textile, and peel-and-stick products all behave differently at a door edge. A wallcovering that is beautiful on a fixed wall may fray, peel, or wrinkle on a moving panel. Durability matters most at the latch side and bottom corner.
Wrap or Cut Edges Deliberately
Some wallpapers can wrap around an edge; others are better cut cleanly at the seam. The right choice depends on material thickness, door clearance, and how often the door opens. Thick wrapped edges can rub, while raw cut edges may need protection.
Test with a small sample on scrap. Open and close the sample edge if possible. The behavior of the material matters more than the promise on the package.
Use Panel Lines to Hide Paint Transitions
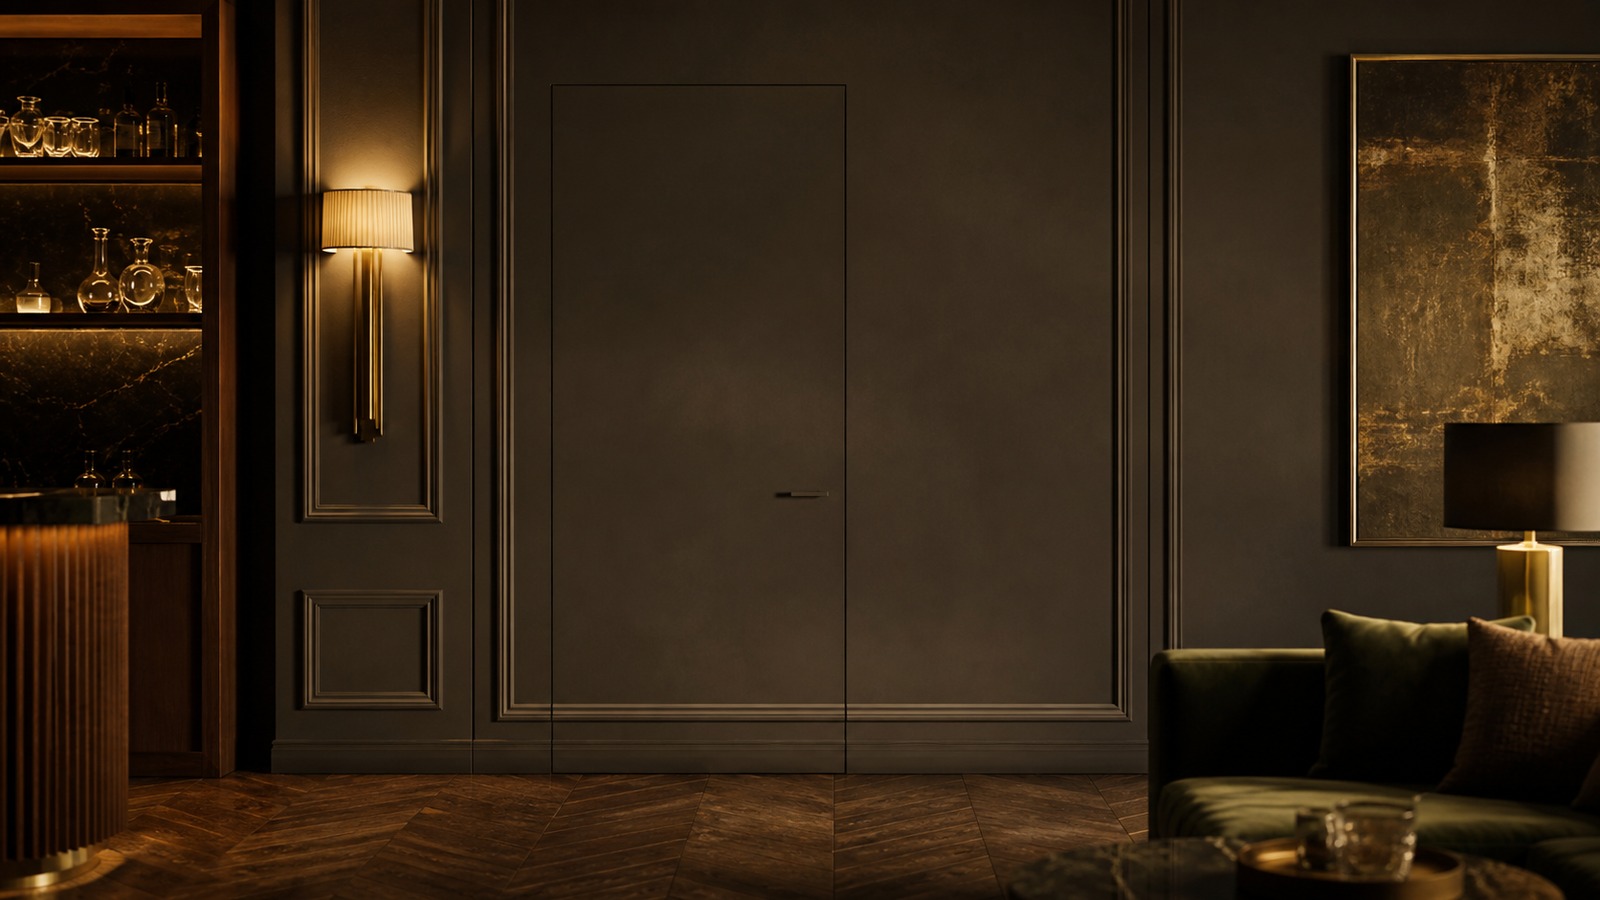
If a door sits within wainscoting or wall panels, paint breaks can land on rails, stiles, or shadow grooves. This makes the finish transition feel intentional. A paint break in the middle of a flat field is much harder to hide.
Panel lines also help when two materials meet. Wallpaper can fill one zone while painted trim frames the larger composition, giving the door a reason for its edges.
The trick is repetition. If only the hidden door has special paneling, the design may draw attention to itself.
Watch Touch Points
Hidden doors reveal themselves through dirt and wear where people push, pull, or lean. A touch latch that requires pressing the same spot will eventually polish or smudge the finish. Choose washable finishes or move the release to a location that can tolerate contact.
Paint Hardware Only When It Still Works
Painting hinges, catches, or pulls can reduce contrast, but paint can also gum up moving parts. Remove hardware when possible, paint parts separately if appropriate, and keep mechanisms clear. A hidden door that looks good but operates badly will not stay hidden for long.
Use thin coats near reveals. Thick paint can change clearances, especially on flush doors with tight gaps.
Use Texture to Soften Straight Lines
Subtle texture can make a door less obvious by giving the eye more to read than a rectangle. Limewash effects, plaster texture, fabric panels, grasscloth, or lightly textured wallpaper can all soften the perimeter. The texture should belong to the room, not look like a patch.
Texture also affects repair. Highly varied surfaces may hide scuffs, while delicate finishes can be difficult to touch up. Think about the door’s use before choosing the most dramatic option.
Samples should be viewed on a vertical surface, not flat on a table.
Protect the Bottom Edge
The bottom of a concealed door often sees shoes, vacuum cleaners, pets, and floor dust. Paint or wallpaper that looks perfect at eye level can fail near the floor. Use durable finish, a shadow reveal, or a subtle base detail that protects the moving edge.
Let the Finish Cure Before Tuning
Fresh paint and adhesive can stick, dent, or shift. Let finishes cure before repeated operation, then tune the door again. Final adjustment after curing helps prevent rubbed edges and cracked seams.
A concealed door is not finished when the last coat goes on. It is finished when the surface has cured, the door opens cleanly, the pattern still aligns, and touch points do not immediately betray the secret.
The Best Finish Looks Ordinary on Purpose
Painting and wallpaper tricks succeed when they make the door feel like part of the room’s normal surface. The finish should not announce that a trick is happening. It should make the wall, panel, or storage face feel calm enough that the opening is discovered only by use.
That calm comes from patience: matching sheen, aligning pattern, cutting seams cleanly, protecting edges, and checking the room in real light. Small surface decisions create the illusion that the hidden door has simply always been there.
Ordinary on purpose does not mean careless. It means every finish choice supports the room before it supports the reveal. The viewer should see a composed wall first and understand the trick only after the door moves.
Choose Patterns That Forgive Small Movement
Some wallpaper patterns are more forgiving than others. Organic textures, loose repeats, and subtle variation can hide small alignment shifts better than rigid stripes or geometric grids. If the door is used often, forgiving patterns may age better.
Handle Corners Before They Become Frayed
Door corners take more abuse than fixed wall corners. If wallpaper wraps or paint sits on a sharp edge, that edge should be prepared, sealed, and protected. Small corner failures are highly visible because they occur at the moving outline of the door.
Test the cleaning method too. A finish that smears when wiped will show hand contact quickly. Concealed doors often need more durable finish at exactly the spots you hope people will not notice.
Use Samples on the Door, Not Only the Wall
A sample on a fixed wall tells only part of the story. Put sample paint or wallpaper on a scrap edge or hidden part of the actual door when possible. Movement, edge thickness, and finger contact change how a finish behaves.
This is especially valuable when matching old paint. A wall that has aged for years may not match a fresh formula without adjustment. Testing on the door lets you see the relationship honestly.
Samples also reveal whether the finish will make the door feel heavier, glossier, or more delicate than intended.
Let Repairs Blend Into the Pattern
Choose a finish strategy that can be repaired. Wallpaper offcuts, paint records, spare trim pieces, and documented sheen choices make future touch-ups less stressful. A concealed door that cannot be repaired will slowly become easier to spot.
Repairability is part of the trick. The door is a moving surface, so it deserves a finish plan that assumes real life will happen.
Give the Release Point a Durable Finish
If people press, pull, or tap the same area, reinforce that decision with material choice. A washable paint, discreet push plate, hidden edge pull, or more durable wallcovering can preserve the disguise. The release point should not become a fingerprint map.
Use Contrast Only Where It Helps
Concealed doors do not always require a perfectly uniform wall. Sometimes a larger pattern with controlled contrast hides the opening better than a plain field. The important point is that contrast should be distributed across the composition, not concentrated around the secret.
A dark rail, repeated stripe, or textured border can make a reveal line feel expected. A single dark line around one panel does the opposite.
Do Not Let Wallpaper Fight the Hinges
The hinge side of a wallpapered concealed door deserves special attention. Depending on the hinge type and clearance, the material may need to stop before the pivot zone, wrap gently, or be protected by a trim detail. If the paper binds at the hinge, the edge will fail quickly.
Open the door slowly after installation and watch the material. Look for stretching, buckling, or rubbing. Correcting a tight edge early is easier than replacing a torn sheet later.
Hidden doors move differently from fixed walls, and wallpaper has to respect that movement.
Photograph the Finished Pattern for Repairs
Take clear photos of the wallpaper alignment, paint sheen, and seam cuts after the door is finished. If damage happens later, those photos help recreate the intended look. They also remind future painters where the operating seams are.
Good documentation is not glamorous, but it protects the finish. A concealed door can be ruined by someone unknowingly caulking, painting shut, or papering across the moving joint. Photos and finish notes make maintenance less risky because the next person can see how the trick was supposed to work.
That record is especially useful with wallpaper. Pattern repeats, dye lots, and installation choices are hard to reconstruct from memory. A few images can save the door’s best detail years later.
Documentation also helps preserve restraint. Future repairs should match the quiet surface, not add a new patch, trim line, or sheen change that calls attention to the door after all that careful finish work and alignment in the room. The repair should disappear as calmly as the original door.