Turning an Existing Opening Into a Cleaner Wall
Retrofitting an existing door into a flush-mount design can make a hallway, office, closet, or suite feel more modern without rebuilding the entire home. The idea sounds simple: remove trim, align the slab with the wall, and reduce the visual interruption. In practice, the project depends on framing depth, wall flatness, hinge type, door thickness, floor transitions, electrical conflicts, and finish work. A retrofit can look excellent, but it works best when the existing opening is studied honestly before demolition begins.
A: Not always; wall depth, opening condition, slab type, and hardware needs decide feasibility.
A: A true flush look often needs a new or modified frame, though simpler shadow-gap updates may be possible.
A: Sometimes, if it is flat, stable, thick enough, and compatible with the hardware.
A: They help when the door and frame can support a cleaner hinge-side view.
A: Often it reveals repair work, so patching and finish labor should be expected.
A: Choose the side that matters most visually if both sides cannot be made flush.
A: Small cosmetic updates may be, but precise flush frames usually need skilled carpentry.
A: Wall repair and finish labor often cost more than expected.
A: Yes, but moisture-resistant materials and sealed edges become especially important.
A: When the wall, opening, or finish is too uneven to support a crisp retrofit.
Begin With the Existing Conditions
Every retrofit starts with measurement. Check the wall thickness, rough opening, jamb depth, slab size, hinge locations, floor level, and surrounding trim. Older homes may have uneven walls, out-of-square openings, or layered finishes that complicate a flush detail.
Look at both sides of the doorway. A door that can be flush on one side may sit proud or recessed on the other. Decide which side matters most visually, or whether the project needs a deeper rebuild to satisfy both rooms.
Also review what is inside the wall. Electrical switches, outlets, plumbing, low-voltage wiring, blocking, or HVAC returns near the opening can affect whether a concealed frame or modified jamb will fit. Finding those conflicts early prevents expensive surprises.
A retrofit is successful when the existing structure and the design goal agree. If they do not, the project may still be possible, but it needs a clearer budget and a more patient plan.
Decide How Flush the Door Must Be
There are levels of flush-mount design. Some retrofits simply remove bulky casing and create a cleaner shadow gap. Others replace the jamb with a concealed frame so the slab aligns closely with the wall. The desired level affects cost and disruption.
A nearly invisible door requires more precision than a cleaner modernized doorway. Homeowners should decide whether they need full concealment or just a quieter opening. That choice keeps the project realistic.
This decision also helps with scheduling. A cosmetic trim reduction may fit into a modest renovation, while a true concealed-frame retrofit can involve framing, drywall, finish carpentry, and repainting entire wall sections. Defining the goal prevents scope from expanding by accident.
Remove Trim With the Wall Finish in Mind
Existing casing often hides rough drywall edges, uneven plaster, gaps, and old paint lines. Once trim is removed, the wall may need more repair than expected. A flush-mount retrofit should include time for patching, skim coating, sanding, or paneling around the opening.
If the wall finish is textured, matching the repair can be difficult. Smooth modern walls may require broader skim work so the new frame does not sit inside an obvious patch. Wallpaper, plaster, or paneling can sometimes hide repairs, but only if planned as part of the design.
Baseboards also need attention. Traditional casing often intersects base trim in a predictable way. Removing casing can leave awkward ends or gaps. A recessed base, new plinth detail, or carefully stopped baseboard may be needed.
The retrofit should be judged as a wall project, not just a door swap. The surrounding surface is what makes the door feel flush.
Choose the Right Frame Strategy
The frame is the heart of the retrofit. Some projects use a trimless aluminum or steel frame designed for concealed installation. Others modify a wood jamb and create a simple reveal. The best choice depends on wall construction, budget, and desired precision.
Concealed frames often require opening the wall around the doorway. They may need exact drywall returns, blocking, and finish beads. A simpler shadow-gap jamb may be less perfect, but it can reduce cost and disruption. The smartest retrofit strategy is the one that improves the room without pretending the old wall is new construction unless the budget supports that level of rebuilding.
Hinges Determine the Cleanliness
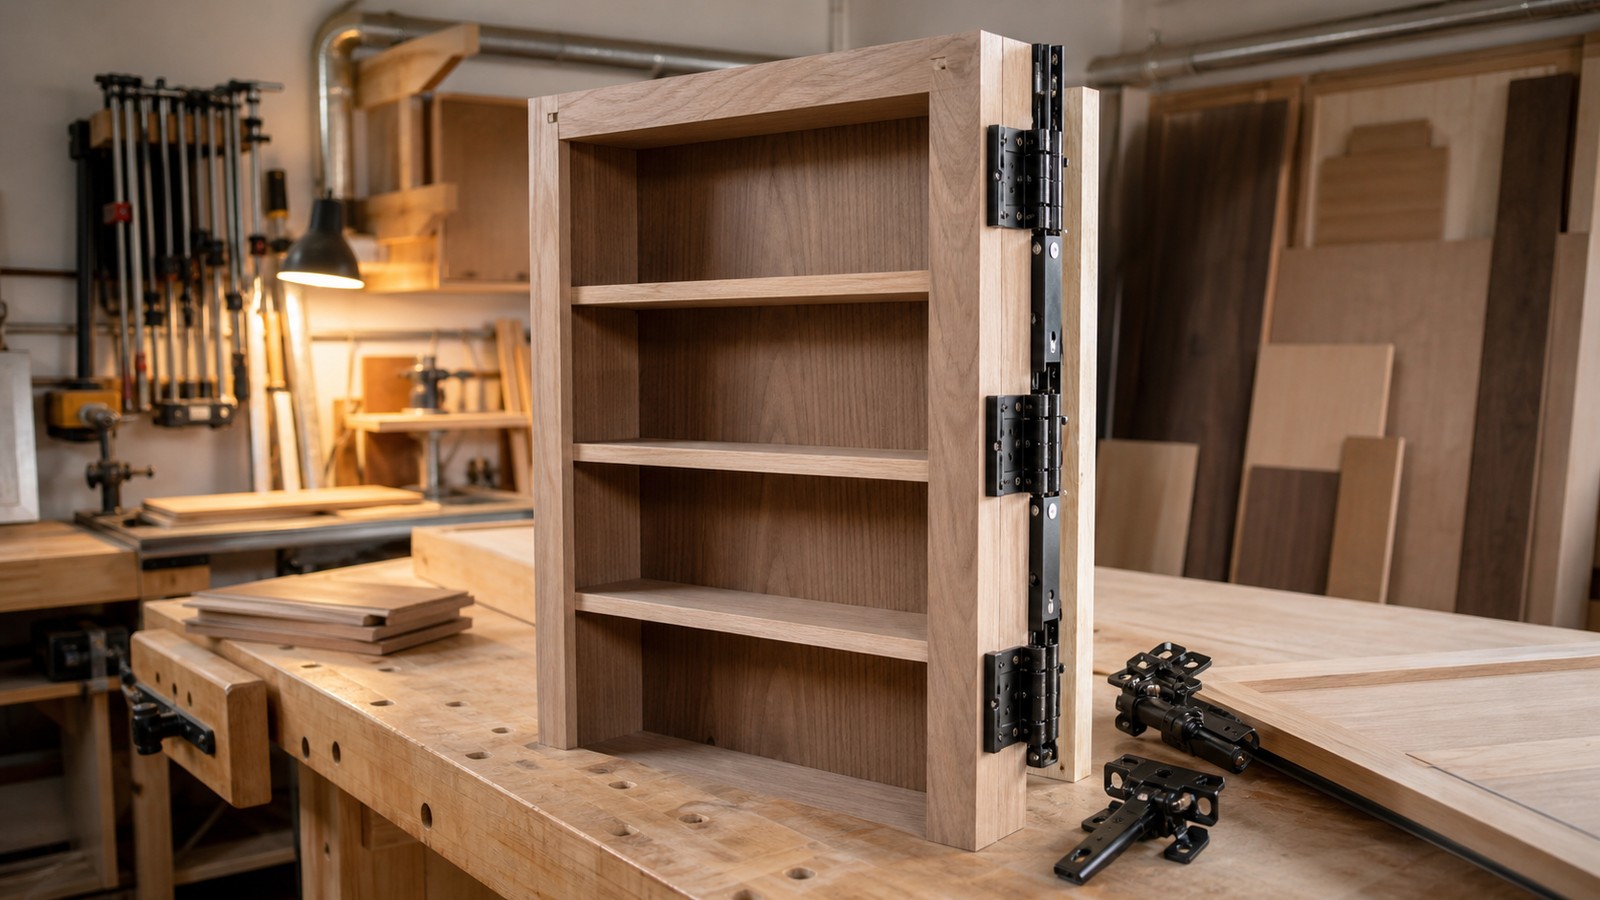
Standard butt hinges are easier to retrofit, but they remain visible from the hinge side. Concealed hinges create a cleaner look, yet they require precise routing, sufficient door thickness, and compatible frame construction. They can also be less forgiving in an old opening.
Pivot hinges may work for some larger doors, but they usually change the swing geometry and floor or head details. Pocket or sliding solutions can be even more invasive. The hinge choice should match the existing conditions rather than forcing the opening to accept a detail it cannot support.
Weight matters. A new flush slab, veneer face, mirror, or panel overlay may be heavier than the original door. The frame and hinges must carry the final assembly without sagging.
Before committing, test clearances on paper and with the installer. A flush door that cannot open fully because of nearby furniture, trim, or wall thickness is not an upgrade. Check the swing with the actual finished panel thickness, not the old slab, because even a small change can affect casing removal, furniture placement, or access to switches.
Reuse the Old Slab Only When It Fits
Sometimes an existing slab can be reused, especially if it is flat, solid, stable, and already the right thickness. More often, a flush-mount retrofit benefits from a new slab that suits the frame, hinge, and finish requirements.
Old paneled doors can be hard to make flush without adding material, sanding, or replacing the face. Hollow-core slabs may feel too light or unstable for concealed hinges. Reusing what is there can save money, but only if it supports the finished detail.
Existing doors may also carry sentimental or architectural value. In that case, the retrofit should respect the slab rather than forcing it into a detail that damages its character. Sometimes the better solution is to use the old door elsewhere and install a new flush slab where the clean wall matters most.
Plan Hardware Before Painting
Flush-mount retrofits often fail visually when hardware is chosen late. A standard knob may look too bulky on a newly quiet wall, while a hidden latch may be impractical for daily use. Select the pull, lever, latch, lock, and strike before final finishing.
Strike plates and latch pockets need careful alignment. A door that sits flush but rattles, misses the latch, or requires slamming will feel unfinished. Hardware should close cleanly and suit the way the room is used.
If the door needs privacy or security, plan that requirement early. Retrofitting a lock into a concealed frame after painting can damage the very finish the project is trying to protect.
Hardware planning should include both sides of the door. The public side may need a minimal pull, while the private side may need a more comfortable grip or lock. Treating both sides honestly prevents the retrofit from looking good in the hallway but feeling awkward in the room behind it.
Mockups can help before drilling. Even a taped outline of a pull or lever can show whether the scale feels right on the newly quiet wall. Small hardware can look elegant, but it still has to work for real hands.
Match the Wall Surface Carefully
The door face and wall may need the same paint, veneer, paneling, or wallcovering. Matching color is only part of the task. Sheen, texture, grain direction, and edge treatment all affect whether the door feels integrated.
Painted retrofits should be tested under the room’s real light. A door painted from a different batch or over a different primer may flash. Veneer retrofits need grain planning. Wallpapered doors need clean wrapping and durable edges.
The latch edge should not become the weak point. If people touch the same spot daily, consider a discreet pull or protected edge. A flawless surface that cannot tolerate use will not stay flawless.
Final finishing should happen after the door has been adjusted. Painting too early can lead to scratched edges and repeated touch-ups.
Expect Floor and Threshold Surprises
Existing floors may not be level. A new flush door may reveal slopes that the old casing and undercut disguised. Check whether the slab will clear rugs, tile transitions, thresholds, and seasonal movement.
If the door serves a bathroom, garage, utility room, or exterior-adjacent space, the threshold may have practical requirements. A perfectly minimal bottom detail is not always the right choice. Function should lead the detail.
Know When the Wall Needs Rebuilding
Some retrofits can be done with careful carpentry and finish repair. Others require reframing, new drywall, relocated switches, changed baseboards, or a new wall finish. The difference usually becomes clear during the first inspection.
A very thin wall, badly twisted opening, or damaged plaster edge may not support a crisp flush door without broader work. Trying to save the wall at all costs can produce a result that looks patched rather than intentional.
There is no shame in expanding the scope when the design requires it. A flush-mount door is a precision detail. Sometimes the most efficient path is to rebuild the area correctly instead of fighting every old condition.
Budget for Finish Labor
The door hardware and frame are only part of the cost. Skim coating, sanding, painting, wallcovering, millwork, baseboard changes, and return visits for adjustment can be just as important. Flush retrofits often spend money on what is around the door.
That finish labor is what makes the project look deliberate. Without it, the door may function but still appear like a standard opening with missing trim. A budget that includes only the visible hardware and slab will usually underestimate the work that makes the retrofit convincing.
Test the Door Before Calling It Done
Open the door fully, close it slowly, latch it, push near the corners, and inspect the reveal from several angles. Look at the door in morning light, evening light, and artificial light. Flush-mount details can change dramatically as shadows move.
Listen as well as look. Scraping, rattling, latch clicks, or hinge strain suggest adjustment is needed. The door should feel calm in motion, not only in a still photograph.
After a few weeks of use, check again. New finishes cure, houses move, and users reveal habits the installer could not predict. A final adjustment can make the difference between acceptable and polished.
A Retrofit Should Feel Inevitable
The goal of retrofitting a flush-mount door is not to pretend the old opening never existed. It is to make the revised wall feel intentional, useful, and proportioned. When the frame, slab, hardware, and finish all work together, the door feels like it belongs.
A successful retrofit respects the existing house while improving it. It may hide a closet, quiet a hallway, modernize an office, or make a suite feel more serene. The change is subtle, but the room can feel noticeably more resolved.
That is the reward for careful planning. A door that once interrupted the wall becomes a clean architectural surface, and the home gains a modern detail without losing everyday function.
It is also a useful lesson in restraint. A retrofit does not need to make every door vanish. Even one carefully chosen flush-mount conversion can calm a busy hallway, modernize a suite, or make storage feel more integrated with the rooms people use most.
The best retrofits look natural because they work with the house instead of fighting it. They accept the limits of existing framing, correct the details that matter, and leave the finished room feeling quieter, sharper, and more useful than before.